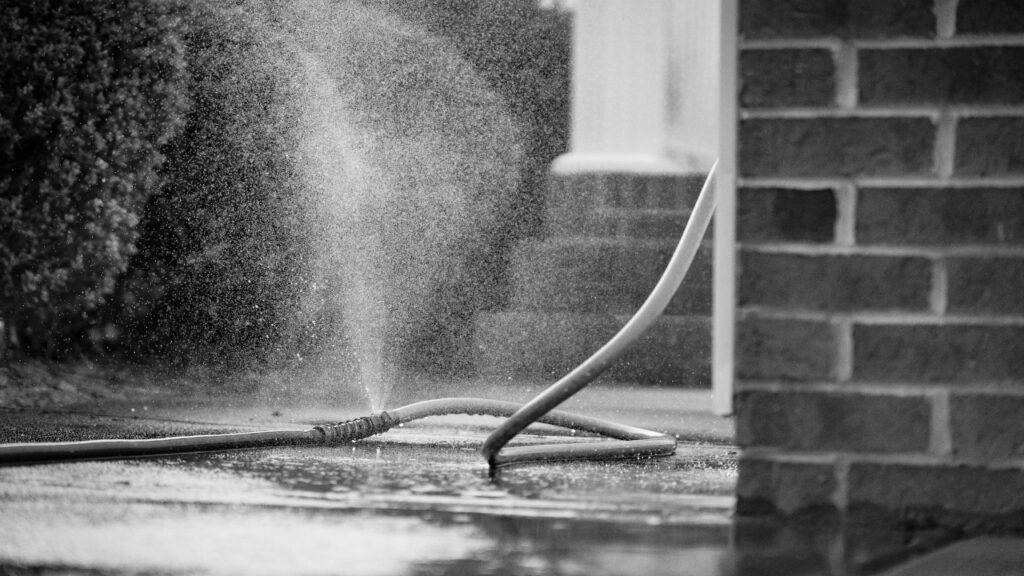
Fixing a torn hose is a practical and eco-friendly approach to address damage and extend the life of your garden hose. A torn hose can lead to water waste, reduced water pressure, and increased expenses if left unattended. In this comprehensive guide, we will walk you through the step-by-step process of repairing a torn garden hose using a hose repair kit or some readily available materials.
Materials You’ll Need:
Hose Repair Kit: This kit typically includes a hose mender, hose clamps, and garden hose washers. You can find these kits at hardware stores, garden centers, or online retailers.
Utility Knife or Scissors: To trim the torn section of the hose and create a clean, even edge.
Screwdriver or Pliers: To tighten hose clamps.
Hose Repair Tape (Optional): Hose repair tape is a self-fusing silicone tape that can provide an extra layer of protection.
Step-By-Step Guide:
Now, let’s dive into the step-by-step guide for repairing a torn garden hose:
Step 1: Safety First
Before you begin, ensure that your water source is turned off and the hose is completely depressurized. Disconnect the hose from the water source to prevent any water flow while you work on the repair.
Step 2: Identify the Torn Area
Inspect the hose thoroughly to locate the torn section. A torn hose may be visible, with a clear separation of the two sides, or it may appear as a significant gap. Once you’ve identified the torn area, mark it for reference.
Step 3: Prepare the Hose
To ensure a successful repair, you’ll need to prepare the torn area:
- Measure a few inches on each side of the tear and mark those points.
- Use a utility knife or scissors to cut the hose at these marked points, creating clean, even cuts.
Step 4: Insert the Hose Mender
Take the hose mender from your hose repair kit. It is typically a cylindrical piece with threads on the outside. Slide one end of the mender into one of the hose ends you just cut. Ensure it fits snugly and securely into the hose.
Step 5: Attach a Hose Washer
Place a garden hose washer over the other end of the hose, covering the second cut end.
Step 6: Join the Hose Ends
Insert the second cut end of the hose onto the other end of the hose mender. This process will effectively rejoin the hose, and the mender will be in the middle, connecting both cut ends.
Step 7: Secure with Hose Clamps
Use hose clamps from your repair kit to secure the hose to the hose mender on both ends. Depending on the type of clamps you have (screw-type or squeeze-type), use the appropriate tool (screwdriver or pliers) to tighten them until they’re firmly in place. Make sure the clamps are snug to create a watertight seal.
Step 8: Test for Leaks
With the hose securely repaired, turn on the water supply and check for any leaks or drips around the repaired area. If you notice any, you can adjust the clamps or connections to create a watertight seal. Remember to make sure the hose is depressurized before making any adjustments.
Optional Step: Apply Hose Repair Tape
If you have hose repair tape on hand, you can use it as an additional layer of protection. Start about 2 inches before the torn area and wrap the tape tightly around the repaired area. Continue wrapping the tape 2 inches beyond the tear. Hose repair tape is self-fusing and can create a strong seal. Make sure it adheres firmly to the hose.
Step 9: Turn Off Water Supply and Store Properly
After confirming that there are no leaks and that the repair is successful, turn off the water supply. Properly store your garden hose by coiling it and protecting it from harsh weather conditions to prevent further damage.
Tips for Successful Torn Hose Repair:
Choose the Right Hose Repair Kit: Ensure that you select a hose repair kit that matches the diameter of your garden hose. Kits come in various sizes to accommodate different hose sizes.
Inspect Regularly: Even after repair, it’s important to inspect your hose regularly for signs of wear and tear. This will help you catch and address issues before they become more extensive.
Avoid Kinks: Prevent kinking the hose, as this can lead to hose damage, including leaks and tears.
When to Replace Instead of Repair:
While repairing a torn garden hose can be effective, there are situations where replacement is a better option:
Extensive Damage: If your hose has multiple tears, holes, or is severely deteriorated, it may be more cost-effective to replace it.
Age: Hoses have a limited lifespan. If your hose is very old and showing signs of wear and tear, it’s advisable to replace it.
Kinked Beyond Repair: If your hose is kinked in multiple places and you can’t straighten it, it may be time for a new one.
Conclusion:
Repairing a torn garden hose is a practical and environmentally responsible solution to extend its life and save money. By following the steps outlined in this guide and taking proper care of your hose, you can ensure efficient water flow in your garden. Regular inspection and maintenance will help you keep your garden hose in good working condition.


