
Building a garden hose storage system is a practical and cost-effective way to keep your garden hose neatly organized and easily accessible. Whether you have a small garden or a sprawling landscape, a homemade hose storage solution can help prevent kinks and tangles, prolong the life of your hose, and enhance the overall aesthetics of your outdoor space. In this comprehensive guide, we’ll walk you through the step-by-step process of building your own garden hose storage, including various DIY options that cater to different needs and preferences.
Materials and Tools You’ll Need:
Before you begin building your garden hose storage, it’s essential to gather the necessary materials and tools. The specific items you need may vary depending on the design you choose, but here’s a general list to get you started:
Materials:
Pressure-Treated Wood: Pressure-treated lumber is an excellent choice for outdoor projects, as it’s resistant to rot and decay. The amount of wood you need depends on the size and design of your hose storage.
Screws: Choose weather-resistant screws that won’t corrode over time. The size of the screws should be appropriate for the thickness of the wood you’re using.
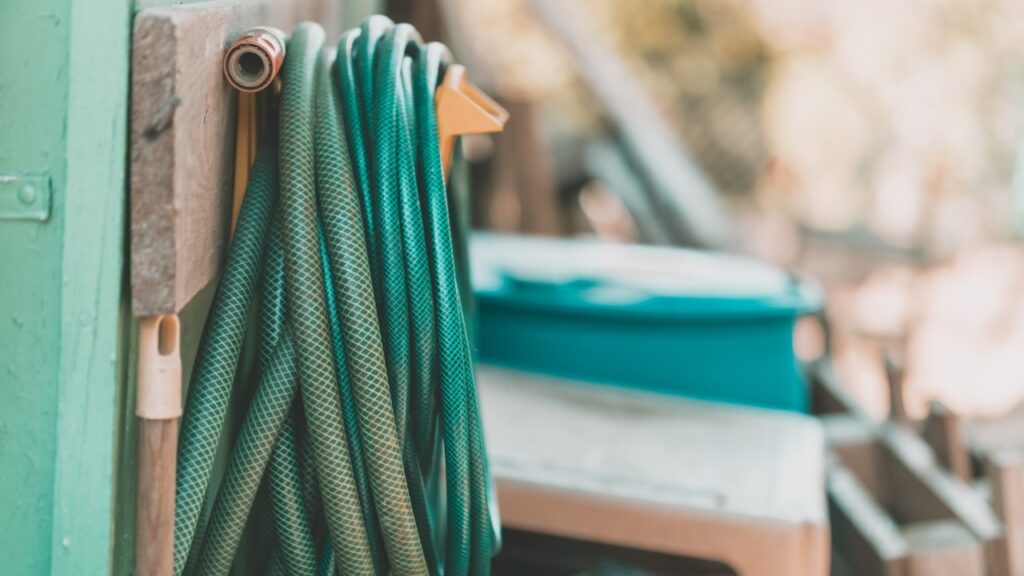
Hose Holder or Hose Reel: You’ll need a hose holder or reel to support and secure your garden hose. These can be found at hardware stores or garden centers.
Hose Guides (Optional): Hose guides can help direct the hose as it’s wound onto the reel or holder. They prevent kinks and ensure that the hose wraps neatly.
Wood Sealant or Paint: To protect your hose storage from the elements, consider using a wood sealant or outdoor paint. This will help extend the lifespan of your project.
Post Cap (Optional): A decorative post cap can add a finishing touch to your hose storage.
Tools:
Circular Saw or Miter Saw: A saw will be necessary for cutting the wood to the desired lengths.
Drill/Driver: You’ll need a drill/driver to create pilot holes for screws and to attach the pieces of wood together.
Measuring Tape: Essential for accurately measuring the wood and ensuring precise cuts.
Level: A level will help you keep your hose storage level and properly aligned during assembly.
Sandpaper: Use sandpaper to smooth any rough edges or surfaces of the wood.
Paintbrush or Sealant Applicator: If you’re using wood sealant or paint, you’ll need a brush or applicator to apply it.
Safety Gear: Always wear safety goggles and hearing protection when using power tools.
Step-by-Step Guide to Building Garden Hose Storage:
Here’s a step-by-step guide for building a simple garden hose storage unit using pressure-treated wood. You can adjust the design and dimensions based on your specific needs and preferences.
Step 1: Design Your Hose Storage
Consider the size of your garden hose, the location where you plan to install the storage unit, and your design preferences. Decide whether you want a wall-mounted hose hanger, a freestanding hose reel, or an enclosed box-style storage.
Step 2: Measure and Cut the Wood
Using your measuring tape and circular saw or miter saw, measure and cut the pressure-treated wood to the appropriate lengths. Common dimensions for a wall-mounted hose hanger might include an 8-foot board for the main support, two 2-foot boards for the arms, and two 1-foot boards for hose guides. Adjust these measurements as needed for your specific design.
Step 3: Assemble the Hose Hanger
Assemble the hose hanger structure by attaching the two 2-foot arms to the ends of the 8-foot main support board. Use your drill/driver to create pilot holes and secure the boards together with screws. Make sure everything is level and square during assembly.
Step 4: Attach Hose Guides (Optional)
If you’re using hose guides, attach them to the 1-foot boards using screws. Position one hose guide on each of the 1-foot boards, ensuring they are evenly spaced and aligned.
Step 5: Mount the Hose Hanger
Determine the optimal location for your hose hanger, considering hose reach and accessibility. Use a level to ensure the hanger is mounted horizontally. Attach the hanger to the wall or structure using screws, making sure it’s securely fastened.
Step 6: Apply Sealant or Paint (Optional)
To protect your hose hanger from the elements, consider applying a wood sealant or outdoor paint. Allow the sealant or paint to dry completely according to the manufacturer’s instructions.
Step 7: Install Hose Holder or Reel
Depending on your chosen design, install the hose holder or reel onto the hanger. Make sure it’s secured properly to support the weight of your hose.
Step 8: Decorate (Optional)
If you like, you can add a decorative post cap to the top of the hose hanger for an extra touch of style.
Step 9: Store Your Garden Hose
Now that your garden hose storage is complete, you can neatly coil and store your garden hose. Use the hose guides to direct the hose as you wind it onto the holder or reel.
Alternative DIY Hose Storage Solutions:
Wooden Box Storage: Build a wooden box with a hinged lid to store your hose. You can add handles for portability and paint the box to match your garden decor.
Repurposed Tire Holder: An old tire can be painted and mounted on a wall or fence to create a circular hose holder. It’s a creative and environmentally friendly option.
Planter Hose Storage: Convert a large outdoor planter into a hidden hose storage container. Simply coil the hose inside the planter and cover it with a lid or decorative stones.
PVC Pipe Hose Holder: Create a hose holder using PVC pipes and fittings. This is a lightweight and budget-friendly option.
Copper Pipe Hose Hanger: Using copper pipes and fittings, you can build an elegant and durable hose hanger that adds a touch of sophistication to your garden.
Maintenance Tips:
To ensure your DIY garden hose storage remains in good condition, consider these maintenance tips:
Regularly inspect for signs of wear and tear, and make any necessary repairs or replacements.
Apply a fresh coat of sealant or paint as needed to protect the wood from weathering.
Clean and store your garden hose properly to prevent damage.
Lubricate moving parts of hose reels or holders to maintain smooth operation.
Keep the area around your hose storage clear of debris and overgrowth.
By following this guide, you can build your own garden hose storage system to keep your outdoor space organized, functional, and visually appealing. Customizing your hose storage allows you to match it with your garden’s style and meet your specific needs. Whether you opt for a wall-mounted hanger, a decorative box, or a repurposed tire holder, your garden hose will be well-maintained and ready for use whenever you need it.