
Painting roof tiles can be a viable option to enhance the appearance of your home and extend the lifespan of the tiles. However, there are crucial factors to consider, including the type of tiles, the condition of the roof, and the appropriate paint and methods for achieving a successful and long-lasting result.
Benefits of Painting Roof Tiles:
Enhanced Aesthetics: Painting roof tiles can refresh the appearance of your home by providing a new color or restoring the original vibrancy of faded tiles.
Protection and Preservation: Quality roof paint can offer protection against UV rays, moisture, and weathering, thereby extending the lifespan of the tiles.
Heat Reflectivity: Some roof paints come with reflective properties, reducing heat absorption and potentially lowering cooling costs in warm climates.
Considerations Before Painting Roof Tiles:
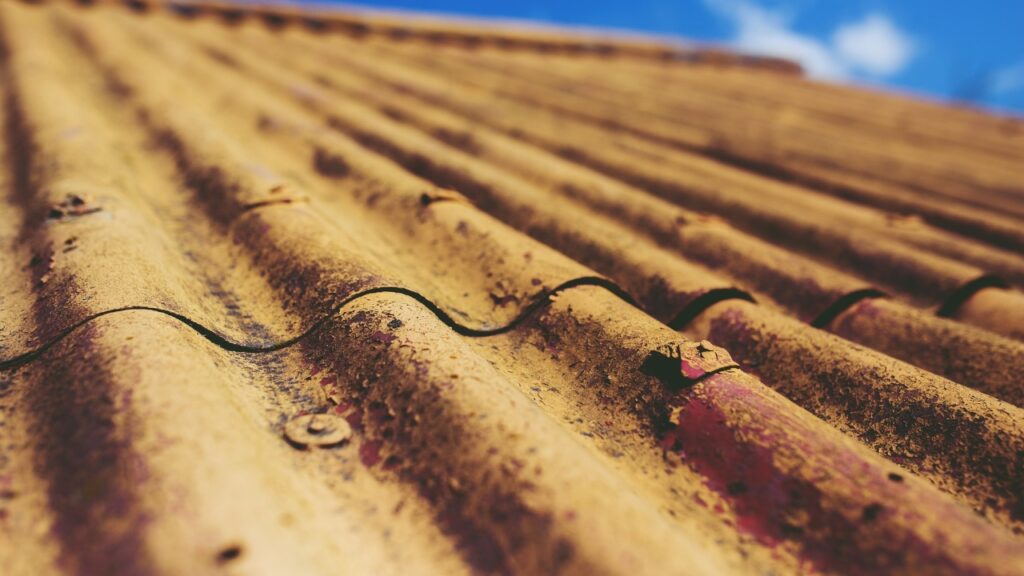
Tile Condition: Ensure the tiles are in good condition without significant damage or deterioration. Painting won’t address structural issues; it’s primarily for aesthetics and protection.
Compatibility: Determine if your specific tile material (concrete, clay, terracotta, etc.) is suitable for painting. Not all tiles are ideal candidates for paint.
Roof Inspection: Prior to painting, conduct a thorough inspection for leaks, cracks, or any damage that needs repair. Addressing these issues beforehand is crucial to prevent future problems.
Roof Preparation: Proper cleaning and preparation are essential. Remove dirt, debris, moss, and any loose paint before applying a new coat.
What Kind of Paint Do You Use on Roof Tiles?
Choosing the right paint is crucial for a successful and long-lasting result. Here are the key aspects to consider:
Roof Tile-Specific Paint: Use paints specifically designed for roofs. These are formulated to withstand harsh weather conditions and adhere well to various roofing materials.
Acrylic or Latex-Based Paints: These are commonly recommended for roof tiles due to their durability, flexibility, and weather-resistant properties. They can expand and contract with temperature changes without cracking.
Reflective Roof Coatings: In warm climates, consider reflective roof coatings that can reduce heat absorption and potentially lower energy costs by keeping your home cooler.
Color Choice: Opt for lighter colors, as they reflect more sunlight and heat, helping to keep the roof and the house cooler.
Quality Matters: Invest in high-quality paint to ensure longevity and optimal protection for your roof.
Best Way to Paint a Tile Roof
Steps for Painting Roof Tiles:
1. Roof Inspection and Preparation:
- Inspection: Check for any damage, leaks, or areas that require repairs. Address these issues before proceeding with painting.
- Cleaning: Remove dirt, moss, algae, and debris from the tiles using a pressure washer or by scrubbing. Allow the roof to dry completely before painting.
- Repair: Fix any cracks, loose tiles, or damaged areas. Replace broken tiles as needed.
2. Choose the Right Conditions:
Weather: Plan to paint on a dry day with mild temperatures. Avoid painting during extreme weather conditions or when rain is expected within 24 hours.
3. Apply Primer (If Needed):
Primer: Some roof paints may require a primer for better adhesion. Follow the manufacturer’s instructions on whether a primer is necessary and how to apply it.
4. Paint Application:
- Brush, Roller, or Spray: While spraying may be faster, using a brush or roller can provide better coverage and ensure the paint gets into all crevices. A combination of methods might be useful for larger areas and detailed work.
- Start from the Top: Begin painting at the highest point of the roof and work your way down.
- Thin Coats: Apply thin, even coats of paint. Avoid heavy application to prevent drips and ensure proper adhesion.
- Follow Instructions: Adhere to the manufacturer’s recommendations regarding the number of coats and drying times between coats.
5. Allow Proper Drying:
Drying Time: Allow sufficient time for each coat to dry completely before applying the next one. Follow the paint manufacturer’s instructions for drying times.
6. Clean Up and Final Inspection:
- Clean Tools: Clean brushes, rollers, and any painting equipment according to the paint manufacturer’s instructions.
- Final Inspection: Once the paint has dried completely, inspect the roof for any missed spots or areas that need touch-ups.
Maintenance and Longevity:
Regular maintenance is key to prolonging the lifespan of a painted roof. Monitor the roof periodically for signs of wear or damage, and conduct touch-ups as needed.
Can You Paint a Tiled Roof with a Brush?
Yes, you can paint a tiled roof with a brush, and it can be an effective method for smaller areas, detailed work, or where precision is required. A brush allows you to control the application and ensure that the paint covers all surfaces, including crevices and edges.
While using a brush might take more time compared to spraying, it can offer better coverage and help avoid overspray. For larger areas, a combination of a brush and a roller or a sprayer might be more efficient.
Conclusion
Painting roof tiles can be a worthwhile investment to enhance your home’s appearance and protect the roof from weathering. However, it’s crucial to ensure that your roof is suitable for painting, prepare it thoroughly, choose the right paint, and follow proper application techniques for a successful and long-lasting result. Always prioritize safety, proper preparation, and adherence to manufacturer guidelines to achieve the best outcome when painting your roof tiles.
Pingback: Mastering Exterior Home Design: A Complete Guide - Home Improvement Tips & Ideas